
Observatory Construction
Click
here for shed overview drawing
 Building
the Shed
Building
the Shed
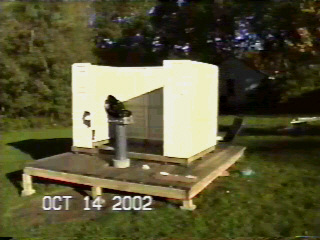
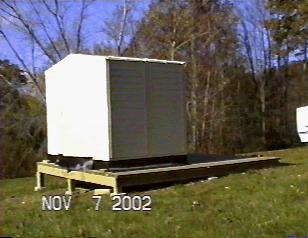
As mentioned, I purchased a 6'x8' vinyl shed from DuraMax. It
came in a cardboard box about 5'x4'x6", weighing
less than 200 pounds. All the pieces are stamped clearly
- not labled with stickers or ink, stamped. The
directions were dead on, the materials are good, over-all
this is really an excellent kit. I built the shed in one
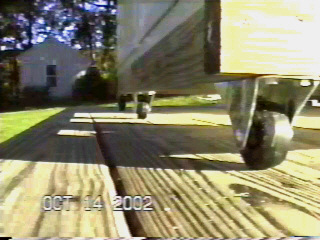
weekend, alone with no problems. I assembled it onto a
frame of pressure treated 2x4s with 10 non-swivel casters
bolted to the bottom.
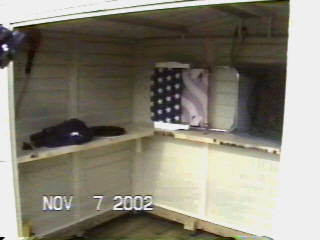
Interior shelving (not part of the kit) in the form of
2x6 lumber wraps around the East, North and West walls.
You want as little on the ground as possible that might
interfere with the movement of the shed. A work light
with a red bulb helps keep me from going around with a
flashlight between my teeth all night.
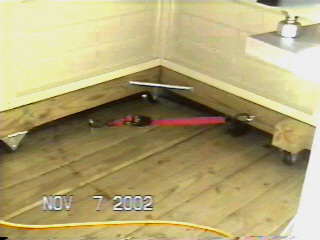
Ratchet style come-alongs are used in combination with
eye-hooks to securely fasten the shed to the deck. I once
forgot to put them on after an observing session. The
next day I found the shed 2 feet North of home position,
front doors crammed up against the pier and the ETX70 on
the deck inside the shed. Thankfully there was no damage
done, I always make sure to tie it down now.
The only other thing it needed was weather stripping to
keep out the snow and wind. I picked up 25' of black
carpet protector and some roofing nails from Home Depot
and tacked it up all around the bottom frame.
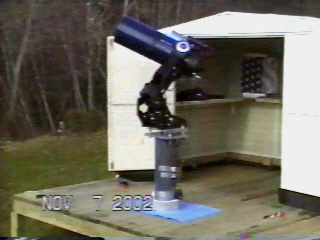
That's all there is to it, pier, deck, shed. The
convenience is awesome! There's nothing like using the
LX200 for 15 minutes on a whim, something I could never
do before. On top of that, my laptop, books, charts,
eyepieces, etc., etc. go through the night dew free!
Lovin' it! <G>
| Home | Biography | Equipment | Techniques | Observatory | Gallery | Favorites | Contact |